How Easy is It to Move From Unreal 3 to Unreal 4
Update note: Matt Larson updated this tutorial for Unreal Engine 5. Tommy Tran wrote the original.
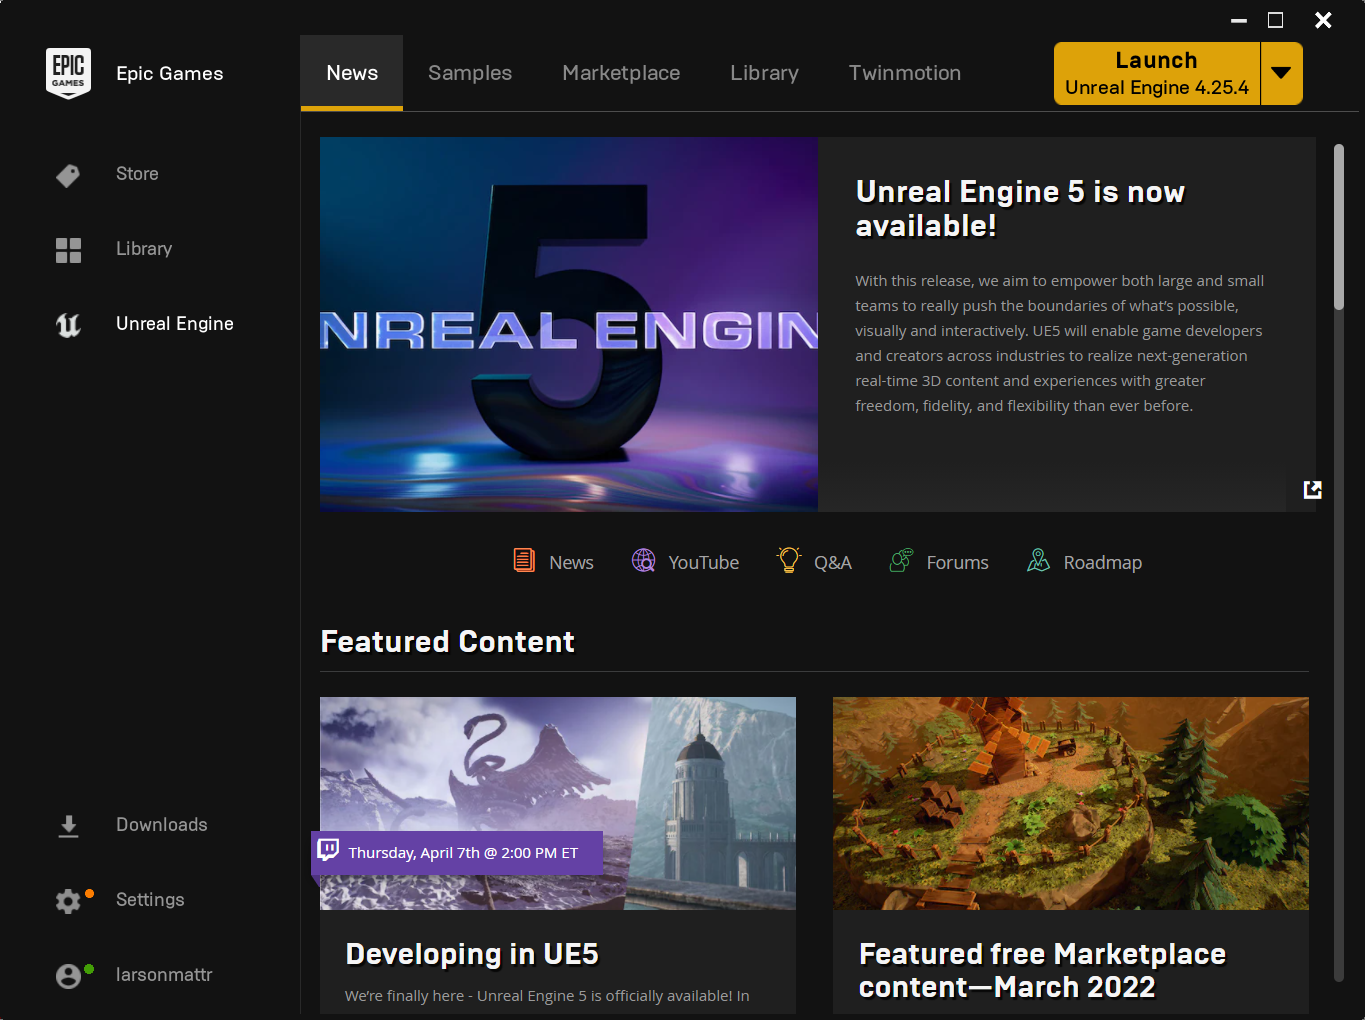
Unreal Engine
Unreal Engine is a collection of game development tools capable of producing 2D mobile games to AAA console titles. Unreal Engine 5 is used for the development of next-generation games, including Senua's Saga: Hellblade 2, Redfall — a co-op shooter from Arkane Austin, Dragon Quest XII: The Flames of Fate, Gears of War 6, Ashes of Creation and the next installment of Tomb Raider.
Unreal Engine 5 (UE5) brings fresh tools for realistic environments:
- Lumen, a new technology for lighting.
- Nanite, a system for detailed models and environments.
- World Partitions, which allows streaming large worlds.
- One file per actor, which makes it easier for developers to work on the same project.
- Integrations with the Quixel Megascans library.
- MetaHuman — a technology for realistic avatars.
- And many more!
Developing in Unreal Engine 5 is simple for beginners. Using the Blueprints Visual Scripting system, you can create entire games without writing one line of code! Combined with an easy-to-use interface, you can quickly get a prototype up and running.
This Unreal Engine 5 tutorial focuses on helping beginners get started. This tutorial will cover several points, including:
- Installing the engine.
- Importing assets.
- Creating materials.
- Using Blueprints to create objects with basic functionality.
Download the assets for this project by using the link at the top or bottom of this tutorial. Get ready to dive into the depths of the Unreal Engine!
Installing Unreal Engine 5
Unreal Engine 5 uses the Epic Games Launcher for installation. Head over to the Unreal Engine website and click the Download button in the top-right corner.

You'll have the option to choose the Publishing or Creators license. If you intend to publish or monetize your projects, choose the Publishing option. Now choose to download the Epic Games launcher.
Once you've downloaded and installed the launcher, open it. You'll be prompted to sign in with your Epic account:

Sign in using the same method you used when downloading the launcher. After signing in, click Install Engine in the top-right corner. If you don't have any versions of Unreal Engine installed, the launcher will take you to a screen where you select where to install it and which components to install.
If you already have a version installed, click the Library tab and then click the Engine Versions + button to choose to install a new version of the Unreal Engine. Choose the Unreal Engine 5.0.0 release to start the installation.

Next, click Install on the icon. You'll need to choose an installation directory.
![]()
Note: Epic Games constantly updates Unreal Engine, so your engine version might be different than this. The 2022 update for this tutorial now features images taken in the Unreal Engine 5 release, and views might change as the engine evolves.
Creating a Project
After the engine is installed, return to the Epic Games Launcher and choose the Unreal Engine tab on the left side.
Click the Launch UE5 button to open the Project Browser. This might take a while, especially for the initial run.

Once the prohject broweser opens, click the Games button on the left side to find templates you can use to start a fresh project.
Here, choose one of the templates. Because you're starting from scratch, select the Blank template. Under the Project Defaults keep the default setting of Blueprint instead of C++.

Here's what the next options do:
- Target Platform: Selecting Mobile or tablet will disable some post-processing effects. It will also enable using the mouse as a touch input. Set this to Desktop.
- Quality Preset: Selecting Scalable will disable some post-processing effects. Set this to Maximum.
- Starter Content: This option includes some Starter Content. Uncheck the Starter Content to create a clean project.
- Raytracing: This enables real-time subtle lighting. Leave this option unchecked.
Finally, you must specify the location of your project folder and the name of your project.
The project name does not represent the game's title, so don't worry if you want to change the title later. Select the text in the Project Name field and type in Submarine.
Finally, click Create to start your UE5 odyssey!
Navigating the Interface
Once you have created the project, the editor opens. If you have worked with UE4, you'll see the new editor view has streamlined the controls and sidebars to focus on the game view.
The editor is split into multiple panels:

- Viewport: Unreal Engine 5 makes the view of your level the major focus, while the other panels have reduced footprints. Look around by holding right-click and moving your mouse. To move, hold right-click and use the WASD keys.
- Modes: This panel lets you select between tools such as the Landscape Tool and the Foliage Tool. The Place Tool is the default tool. It lets you place many types of objects into your level, including lights and cameras.
- World Outliner: Displays all the objects in the current level. You can organize the list by putting related items into folders, and you can search and filter by type.
- Details: Any object you select will have its properties displayed here. Use the panel to edit the settings of the object. Changes made will affect only that instance of the object. For example, if you have two spheres and change the size of one, you'll only affect the selected object.
- Toolbar: Contains a variety of functions. The one you'll use the most is Play.
- Content Drawer: This panel displays all your project files. Use this to create folders and organize files. You can search for files by using the search bar or filters. Expand to show all assets in your project.
Importing Assets
You're going to need a vessel to start exploring Unreal Engine, so grab a submarine! Your materials download includes a model of a low-poly submarine. Inside the zip file, you'll find a 3D model (fbx) submarine-low-poly/submarine.fbx and textures submarine-low-poly/*.png for the model.
Before Unreal can use any files, you must import them. Navigate to the Content Drawer and right-click the Content folder and make a new folder called Models.

Click the Import button. Using the file browser, find the folder where your submarine materials, submarine.fbx and Submarine*.png, are. Select the FBX model and put it into your Models folder.

Unreal will give you some import options for the .fbx file. Change the model's Import Uniform Scale to 100 to uniformly scale up the submarine model.
Now set Material Import Method to Do Not Create Material and uncheck Import Textures. You'll be importing the textures and creating the material separately.
Next, click the Import All button. The models included in the FBX will appear in your Content Browser folder. Note that in Unreal, these models are called static meshes.

When you import a file, it isn't saved into your project until you explicitly do so. Save files by right-clicking the file and selecting Save, or save all files at once by selecting File ▸ Save All. Save often!
Now make a folder in your Content Drawer called Materials, and import the five PNG textures into your Materials folder. Again, save the files after importing the textures.

Next, you'll reassemble the model components and texture parts to build the full submarine.
Create Your First Actor
An Actor is an object that is placed in a level, whether it's a Camera, a static mesh or a starting location for the game level.
You're going to create a special type of Actor called a Blueprint, which can combine the mesh components into a single object that is used in a game.
Blueprints are more powerful than simply joining 3D models — they also can integrate complex logic with the models and together create a reuseable part to add to the game.
In its simplest sense, a Blueprint represents a "thing." Blueprints let you create custom behaviors for your objects. Your object can be something physical (such as the submarine) or something abstract such as a health system.
Want to make a moving car? Make a Blueprint. What about a flying pig? Use Blueprints. How about a kitten that explodes on impact? Blueprints.
To create a Blueprint of your owm, start off by creating a folder called Blueprints in the Contents Drawer.
Next, right-click in your Blueprints folder and choose to create a Blueprint Class. Choose to make an Actor, and name this Submarine.

Now double-click this Blueprint Actor to open the editor for the Blueprint actor. It's time to build your submarine model!
The Blueprint Editor
The Blueprint editor has five main panels:
- Components: Contains a list of the current components.
- My Blueprint: This section is primarily used to manage your graphs, functions and variables.
- Event Graph: This is where the magic happens. All your nodes and logic go in here. Pan by holding right-click and moving your mouse. Zoom by scrolling your mouse wheel.
- Viewport: Any components that have a visual element will appear here. Move and look around using the same controls as the Viewport in the main editor.
- Details: This will display the properties of a selected item.

The submarine model can be assembled using components.
What is a Component?
If you were writing a blueprint for a submarine, it would describe the components that make up the vessel: the body, the windows, the periscope and the propeller. In Unreal Engine, these are all examples of Blueprint components.
Adding Components
Before you can see any components, switch to the Viewport view if you're not already there. Click the Viewport tab to switch.
The DefaultSceneRoot is the topmost member of the model, but it will only show in the editor. Drag each of the model parts from the Content Browser into this blueprint under the DefaultSceneRoot. These model parts will again assemble into a submarine.

Choose to Compile and Save in the Blueprint editor. Always do those steps after updating a blueprint to be able to see how the changes affect the game.
About Materials
If you look closely at the submarine, you'll see it has a checkerboard on its surface instead of a proper appearance. To give the submarine color and detail, you will create a material.
What is a Material?
A material determines how the surface of something looks. Fundamentally, a material defines four elements:
- Base Color: The color or texture of a surface. Used to add detail and color variations.
- Metallic: How "metal-like" a surface is. Generally, a pure metal will have the maximum Metallic value whereas fabric will have a value of zero.
- Specular: Controls the shininess of nonmetallic surfaces. For example, ceramic would have a high Specular value but clay would not.
- Roughness: A surface with maximum roughness will not have any shininess. It's used for surfaces such as rock and wood.
Below is an example of three materials. They have the same color but separate attributes. Each material has a high value for its respective attribute. The other attributes are set to zero.

Creating a Material
Close the submarine blueprint and return to the Content Drawer, select the Materials folder and click the green Add button. A menu will appear with a list of assets you can create. Click Material.

The Material Editor
Name the material SubmarineMaterial and then double-click the file to open it in the material editor.

The material editor has several panels:
- Viewport: Contains a preview mesh that will display your material. Rotate the camera by holding left-click and moving your mouse. Zoom by scrolling your mouse wheel.
- Details: Any node that you select will have its properties displayed here. If a node isn't selected, the panel will show the material's properties instead.
- Material Graph: This panel will contain all your nodes and the Result node. Pan by holding right-click and moving your mouse. Zoom by scrolling your mouse wheel.
- Palette: A list of all the nodes available to your material.
What is a Node?
Before you start making your material, you need to know about the graph's nodes and pins.
Nodes make up the majority of a material. Many nodes are available and offer different functionalities.
Nodes can have inputs and outputs, also called pins, represented by a circle with an arrow. Inputs are on the left side and outputs are on the right side.
For example, use a Multiply and Constant3Vector node to add yellow to a texture:

Adding Textures
To add color and detail to a model, you need a texture. A texture is a 2D image. Typically, it's projected onto 3D models to give them color and detail.
Materials have a special node called the Result node, which has already been created for you in this case as SubmarineMaterial. This is where all your nodes will end. Whatever you plug into this node will determine how the final material looks.

Look at some of the components of the Result node:
- Base Color: This describes the most important texture, one that provides basic color mapping over the surface of a 3D mesh.
- Normal: A normal map allows significant additional detail to be added to a mesh by providing a normal vector at each pixel along the surface.
- Ambient Occlusion: Describes areas of the surface where light is more difficult to reach.
Open the Content Drawer from the bottom of this window. Drag each of the five textures into the graph, from the Materials folder.
In the graph, make each of the connections between the RGB pin of the texture node to the appropriate connection in the Material by dragging and dropping a line between the two nodes' pins.

In the end, your material should include all five textures:

Click Apply and Save in the Toolbar to update your material and close the Materials editor — you're done here.
Using Materials
To use your material with the submarine, assign it. Return to the Content Drawer and double-click on the Submarine blueprint to open it. Choose the Viewport tab and zoom out to see the whole submarine:

Select all five of the models in the blueprint, then go to the Details panel and find the Materials section. Click the drop-down at the right of Element 0 and select SubmarineMaterial.

Compile and Save your Submarine blueprint. You're ready to bring this asset to life with animations!
Adding Logic to a Blueprint
To explore the depths of Unreal Engine, we need to learn a bit more about Blueprints.
Similar to materials, scripting in Blueprints works via a node-based system. That means all you need to do is create nodes and link them. No coding is necessary.
Unreal Engine also supports writing logic using C++, but I recommend you start with the Blueprint system.
Some of the benefits of Blueprints:
- Generally, it is quicker to develop using Blueprints than C++.
- Easy organization. You can separate your nodes into areas such as functions and graphs.
- If you're working with nonprogrammers, modifying the Blueprint is easy due to its visual and intuitive nature.
A good approach is to create your objects using Blueprints. When you need extra performance, convert them to C++.
About Blueprint Nodes
It's time to get this submarine moving — animating the propeller is easy in the Blueprint. This is where Blueprint nodes come in.
Unlike their material node cousins, Blueprint nodes have special pins called Execution pins. A pin on the left is an input and a pin on the right is an output. All nodes will have at least one of those.
If a node has an input pin, it must have a connection before it can execute. If a node is not connected, any subsequent nodes will not execute.
Here's an example:

Node A and Node B will execute because their input pins have a connection. Node C and Node D will never execute because Node C's input pin does not have a connection.
Rotating the Propeller
Open the Submarine Blueprint. To start scripting, switch to the Event Graph tab.

Making an object rotate is so simple you only need to create one node. Right-click a space on the graph to bring up a menu of available nodes. Search for AddLocalRotation. Rotate the submarine_Motor component. Select AddLocalRotation (submarine_Motor).
Note: If the node isn't listed, uncheck Context Sensitive at the top right of the menu.

Your graph will now have a new AddLocalRotation node. The Target input will automatically have a connection to the selected component.
To set the rotation value, go to the Delta Rotation input and change the Y value to 2.0. This will cause the Blueprint to rotate around its Y-axis. Higher values will rotate the propeller faster.

To constantly rotate the turntable, you need to call AddLocalRotation every frame. To execute a node every frame, use the Event Tick node. It should already be in your graph. If it's not, create one using the same method as before.
Drag the output pin of the Event Tick node to the topmost input pin of the AddLocalRotation node.

Note: In this implementation, the rotation rate is dependent on the frame rate — the propeller will rotate at a slower rate on slower machines and vice versa. That's fine for this tutorial.
Finally, go to the Toolbar and click Compile to update your Blueprint, then close the Blueprint editor.

Bring an Actor to the Scene
Adding a Blueprint is the same process as adding a mesh. From the Content Drawer, drag the submarine Blueprint into the Viewport.

Objects in a level can move, rotate and scale. The keyboard shortcuts for these are W, E and R.
Just Add Water!
The submarine looks like it's beached in a desert! How about adding some effects to make it look like the scene is underwater?
First, select the VolumetricCloud in the Outliner and delete this from your scene to remove the clouds.
A simple way to create a blue sea is to add a post-process effect to color the world blue. Post-process effects are those changes applied after the frame is rendered.
Post-process effects are commonly applied to provide stylistic changes such as motion blurs, lighting blooms, and black and white photograph styles.
Add a PostProcessVolume to the scene by clicking the Quick Add button in the Toolbar and selecting Volumes ▸ PostProcessVolume:

This creates a box. If the camera is inside its extent, it will have the post-process effect applied. Select the newly added PostProcessVolume in the Outliner tree and look at the details. Make sure the box is positioned at the origin and covers the view by setting the Transform to a Location of (X: 0.0, Y: 0.0, Z: 0.0) and Scale of (X: 50.0, Y: 50.0, Z: 50.0).

To change how the world appears, find the section called Color Grading and set both the Global Contrast and Gamma to a bluish value:

It should now appear you're underwater. Hold your breath, but not too long, as you still need to test out the results of all your hard work!
Navigate to the Toolbar and hit Play to see the submarine in action in its natural habitat.
![Our underwater submarine :]](https://koenig-media.raywenderlich.com/uploads/2022/04/52_Submarine_Final.gif)
Where to Go From Here?
You can download the final project using the link at the top or bottom of this tutorial.
You've learned a lot throughout this tutorial, but that's just a fraction of Unreal. If you want to keep learning more, check out the Unreal Engine Blueprints tutorial and learn more about building logic with blueprint scripting.
Credits
The "Submarine Low-poly" 3D model by Natali_Voitova is licensed under Creative Commons Attribution (http://creativecommons.org/licenses/by/4.0/).
Source: https://www.raywenderlich.com/31800833-unreal-engine-5-tutorial-for-beginners-getting-started
0 Response to "How Easy is It to Move From Unreal 3 to Unreal 4"
Post a Comment